Difference between revisions of "Spike Prime - Mechanical Lever"
| Line 1: | Line 1: | ||
== Let's begin == | == Let's begin == | ||
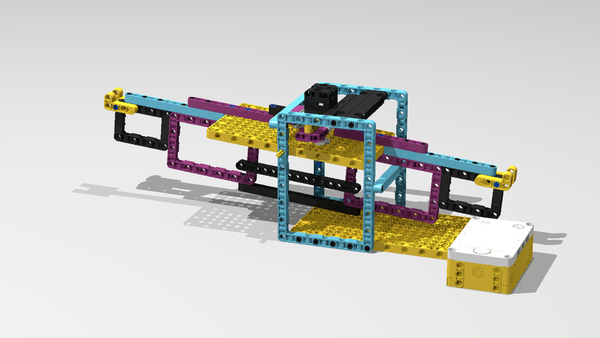
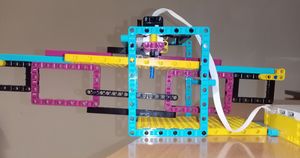
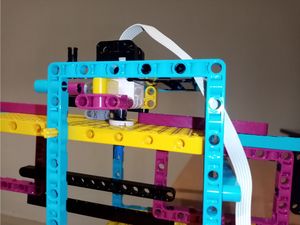
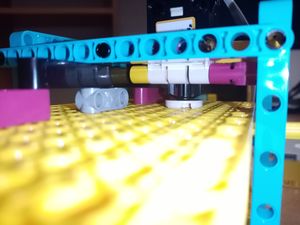
| − | + | One of the easiest mechanisms for amplifying or diminishing force is a mechanical lever. How does it work? How can we amplify or diminish force? We will try figure this out in this exercise. First, build the model. The model contains a force sensor, that will measure the force applied to it. In the experiment, attach objects of different weight at the end of the free long arm of the mechanical lever, and observe the force reported by the sensor. While building, notice what makes this lever strong and stable so that it can hold even some heavy objects. How is the force from the lever applied to the sensor? | |
| + | |||
== Build == | == Build == | ||
| Line 42: | Line 43: | ||
Download: [[Media:lever.llsp|lever.llsp]] | Download: [[Media:lever.llsp|lever.llsp]] | ||
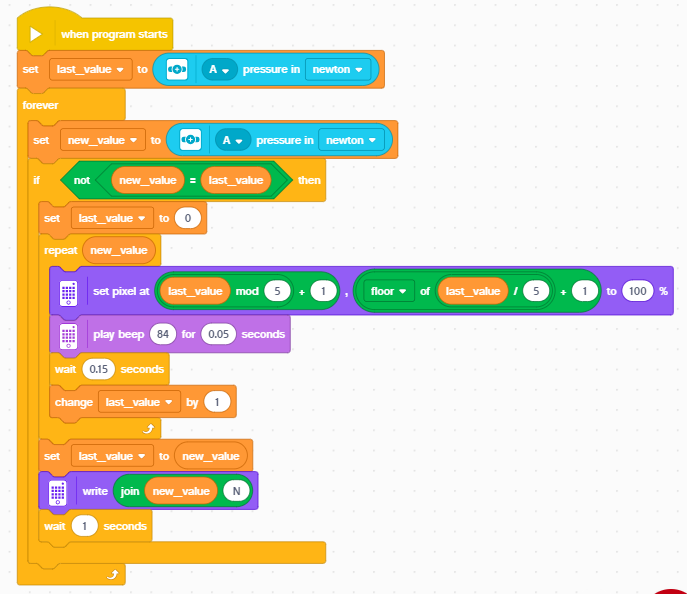
| − | + | The program permanently measures the force. At any time the force changes, the new value is shown on the display. It is also made audible with several beeps. | |
| + | == Measure, analyze, think == | ||
| + | |||
| + | While building, we can test that the lever is well balanced: | ||
| + | |||
| + | <youtube>YuJ5C7Oa8Wc</youtube> | ||
| − | + | When finished, we first verify the force measuring works as expected: | |
<youtube>P6joJEwgsIE</youtube> | <youtube>P6joJEwgsIE</youtube> | ||
| − | |||
| − | |||
| + | Now we can perform some measurements, if you do not have large wheels, do not worry, you can hang on the axle an objects you like. It is useful to weight them on a kitchen scales so that you can compare the results against the expected behavior. Remember to always take notes when measuring. | ||
| − | + | <youtube>IOpZiKMmW2A</youtube> | |
| − | * | + | * Looking at the weight of the different objects attached to the lever, calculate the force applied to the sensor. Investigate whether the value reported on the display matches the prediction. |
| + | * Make your own pictures and recording | ||
| + | * Discuss in your group what has happened. | ||
== Explore and modify == | == Explore and modify == | ||
| − | * | + | * Perform measurements with different objects |
| − | * | + | * You can also try to move the yellow L-shaped pieces at the end of the arms to another position and, observe and verify the behavior. |
| + | |||
== Present == | == Present == | ||
Revision as of 14:31, 16 February 2020
Let's begin
One of the easiest mechanisms for amplifying or diminishing force is a mechanical lever. How does it work? How can we amplify or diminish force? We will try figure this out in this exercise. First, build the model. The model contains a force sensor, that will measure the force applied to it. In the experiment, attach objects of different weight at the end of the free long arm of the mechanical lever, and observe the force reported by the sensor. While building, notice what makes this lever strong and stable so that it can hold even some heavy objects. How is the force from the lever applied to the sensor?
Build
Model:
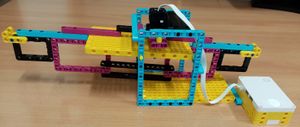
Pictures:
Building instructions:
Download building instructions:
Download stud.io model:
Program
Download: lever.llsp
The program permanently measures the force. At any time the force changes, the new value is shown on the display. It is also made audible with several beeps.
Measure, analyze, think
While building, we can test that the lever is well balanced:
When finished, we first verify the force measuring works as expected:
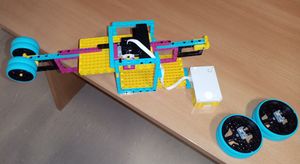
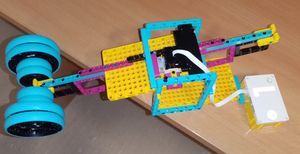
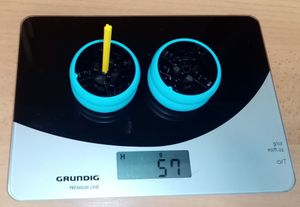
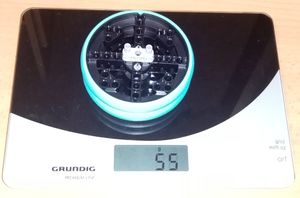
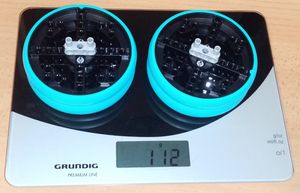
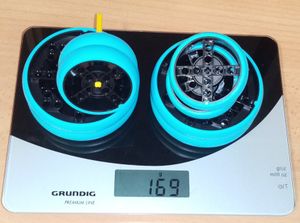
Now we can perform some measurements, if you do not have large wheels, do not worry, you can hang on the axle an objects you like. It is useful to weight them on a kitchen scales so that you can compare the results against the expected behavior. Remember to always take notes when measuring.
- Looking at the weight of the different objects attached to the lever, calculate the force applied to the sensor. Investigate whether the value reported on the display matches the prediction.
- Make your own pictures and recording
- Discuss in your group what has happened.
Explore and modify
- Perform measurements with different objects
- You can also try to move the yellow L-shaped pieces at the end of the arms to another position and, observe and verify the behavior.
Present
- Prepare a short presentation for other groups. Tell others about how your measurement went, what issues did you have to solve. What do they mean and why did they happen?
Additional resources
- Download: Lever - all media files
