Difference between revisions of "Spike Prime - Scales"
m |
m |
||
| (2 intermediate revisions by the same user not shown) | |||
| Line 1: | Line 1: | ||
| + | <small>(''[[Spike up Prime Interest in Physics|back to list of projects]]'')</small> | ||
| + | |||
== Let's begin == | == Let's begin == | ||
| − | + | In Physics, we are trying to understand the principles behind how and why things behave the way they do. We observe, then form theories, collect data, and try to prove or refute them, eventually discovering new laws of Physics. One of the crucial elements of this whole process is the measurement - we need to be able to measure physical variables of objects. | |
| + | |||
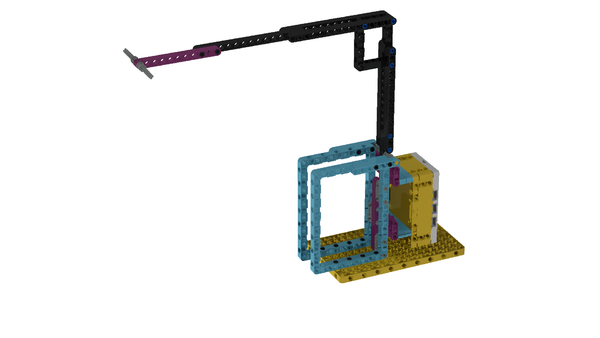
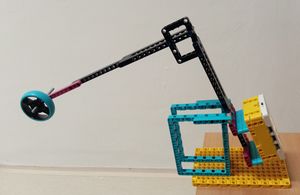
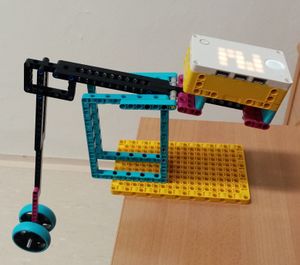
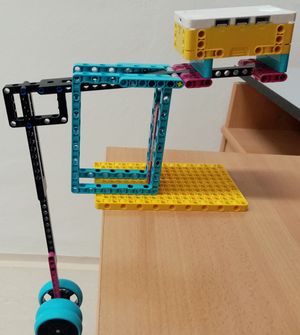
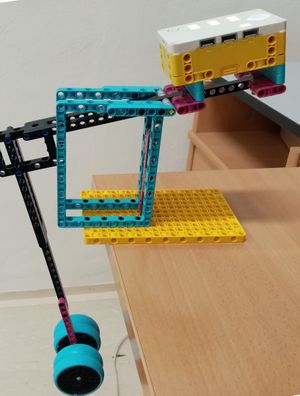
| + | In this exercise, we will build a model of scales for measuring the weight. The object will be hung at the end of the scale's arm, and the gravity will compute with the gravity of the hub and the arm. Both competing parts try to pull the arm their way, but since the centers of gravity and the fixed point of center of rotation are not on the same line, for each given weight, there is a unique equilibrium location, when the forces are in balance. By reading the hub's gyro sensor we can backwards-calculate the mass of the object at the tip of the arm. | ||
| + | |||
| + | First, we build the model, then determine its center of gravity, and the mass of the arm, enter the measured values into the formula in the program, and finally test the scale is working. | ||
| + | |||
| + | You can skip the center of gravity part, we have done it for you. But if your scales will be modified, for example, the arm having a different shape, you will need to re-calibrate and proceed with all the steps. | ||
| + | |||
| + | This program has a precision of approx. 2 grams, it could be improved by more accurate calibration. | ||
| + | |||
== Build == | == Build == | ||
| Line 74: | Line 85: | ||
Download: [[Media:scales.llsp|scales.llsp]] | Download: [[Media:scales.llsp|scales.llsp]] | ||
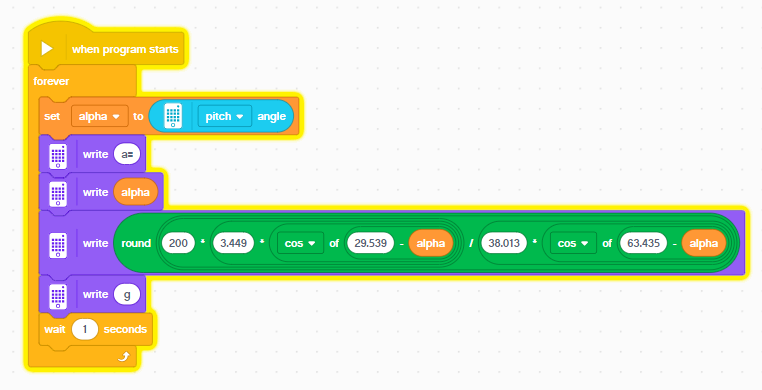
| − | + | The program is very simple, it is measuring the gyro of the hub, feeding its value into the formula and displaying both the pitch inclination of the hub (a=...) and the calculated mass of the object in grams. | |
| − | |||
| Line 82: | Line 92: | ||
<youtube>iRweddXuKLA</youtube> | <youtube>iRweddXuKLA</youtube> | ||
| − | * | + | * Try to measure other objects - for instance combine the wheels with gear wheels. |
| − | |||
| + | == Explore and modify == | ||
| − | + | * If you have more time, modify the scales to fit your likes and needs and perform the recalibration - measure the new center of gravity. | |
| − | |||
| − | |||
== Present == | == Present == | ||
Latest revision as of 15:41, 28 February 2020
Let's begin
In Physics, we are trying to understand the principles behind how and why things behave the way they do. We observe, then form theories, collect data, and try to prove or refute them, eventually discovering new laws of Physics. One of the crucial elements of this whole process is the measurement - we need to be able to measure physical variables of objects.
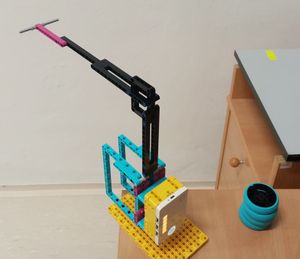
In this exercise, we will build a model of scales for measuring the weight. The object will be hung at the end of the scale's arm, and the gravity will compute with the gravity of the hub and the arm. Both competing parts try to pull the arm their way, but since the centers of gravity and the fixed point of center of rotation are not on the same line, for each given weight, there is a unique equilibrium location, when the forces are in balance. By reading the hub's gyro sensor we can backwards-calculate the mass of the object at the tip of the arm.
First, we build the model, then determine its center of gravity, and the mass of the arm, enter the measured values into the formula in the program, and finally test the scale is working.
You can skip the center of gravity part, we have done it for you. But if your scales will be modified, for example, the arm having a different shape, you will need to re-calibrate and proceed with all the steps.
This program has a precision of approx. 2 grams, it could be improved by more accurate calibration.
Build
Model:
Pictures:
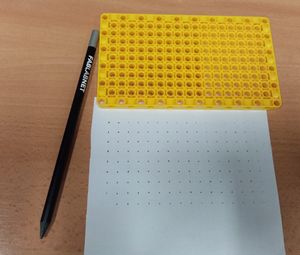
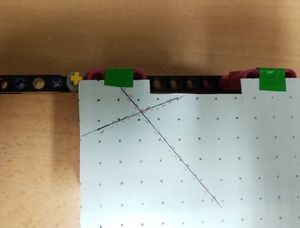
Take a used sheet of paper, use the large technic plate and a pencil with a narrow tip to mark the centers of the grid. We will use it to find the position of the center of gravity, similar to the previous exercise.
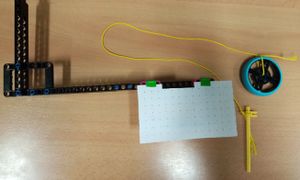
Hub is the most heavy part, and thus the center of gravity will be very near of it. Attach the grid to the hub, you can use tape. Prepare a string with a weight (for instance a wheel) and an axle that can be inserted to some of the beams in the arm model.
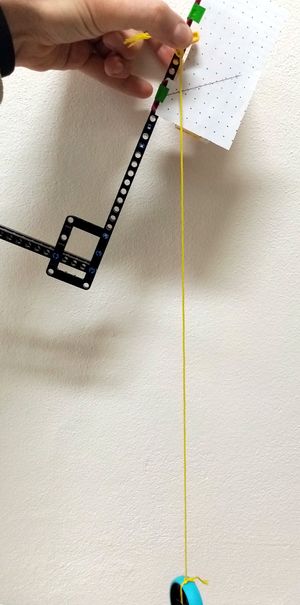
Take the arm model (leave the stand including the axle that the arm rotates around), insert the axle with the string in some hole, and let the gravity work, observe the string. Then carefully place the hub on the table while the string is fixed not to move, and use a pen to mark the position of the string.
Repeat the same with another random hole.
Center of gravity is at the intersection of the two lines marked according to string positions. In our case - it is 3 holes to the right from the arm's center of rotation, and 1.7 holes closer to the hub in the other direction (towards the bottom at the picture, but actually towards the top on the model). The measured information goes into the program, together with the location of the axle for holding the measured object, and the measured weight of the arm. Since all distances use the unit of LEGO Technic beam two neighboring holes distance, we do not need to convert it to mm.
Download/run the program and the model is ready for measuring.
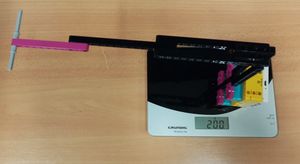
The last piece of information that enters the program is the weight of the arm, here it is 200g.
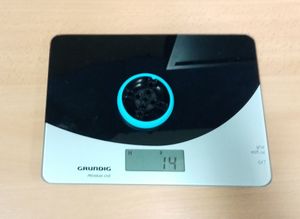
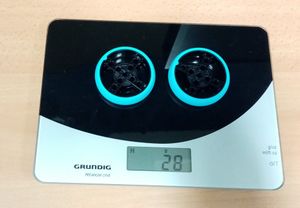
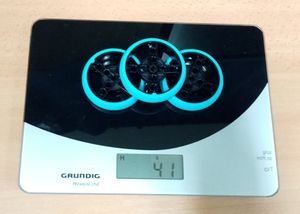
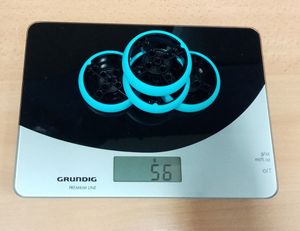
For reference, we can use the kitchen scales to note the real weights of the measured objects, we will use 1, 2, 3, and 4 wheels:
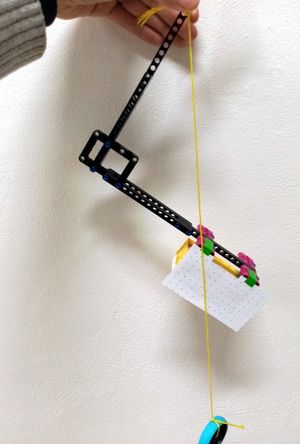
Make sure the measured objects have the center of gravity at the center of the weight-holding axle. Now we measure the wheels, notice the varying inclination of the arm - it is measured by the gyro built into the hub.
Building instructions:
Download building instructions:
Download stud.io model:
Program
Download: scales.llsp
The program is very simple, it is measuring the gyro of the hub, feeding its value into the formula and displaying both the pitch inclination of the hub (a=...) and the calculated mass of the object in grams.
Measure, analyze, think
- Try to measure other objects - for instance combine the wheels with gear wheels.
Explore and modify
- If you have more time, modify the scales to fit your likes and needs and perform the recalibration - measure the new center of gravity.
Present
- Prepare a short presentation for other groups. Tell others about how your measurement went, what issues did you have to solve. What do they mean and why did they happen?
Additional resources
- Download: Scales - all media files
