AVR-USB
AVR-USB-PROGI
It is a good idea to start with AVR programmer. It's greatest advantage is possibility to program Your AVR's using USB port (available also in laptops without standard RS-232 and LPT ports).
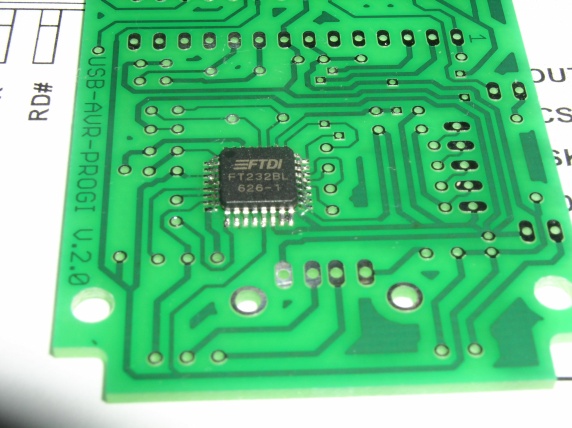
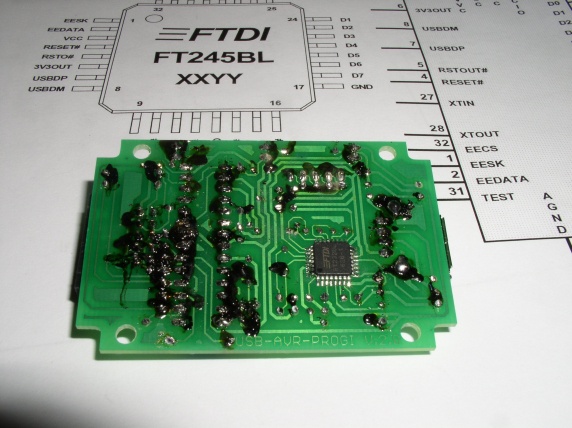
First step is also the most difficult: to solder SMD chip BM232 from FTDI. Maybe it is a good idea to
offer a PCB with pre-soldered chip for beginners. It is not so difficult when one have a good soldering
iron and magnifying glass. One problem is, that PCB delivered was not perfectly cleaned by the manufacturer
and thus it was necessary to use an excessive amount of flux (already cleaned off on the picture):
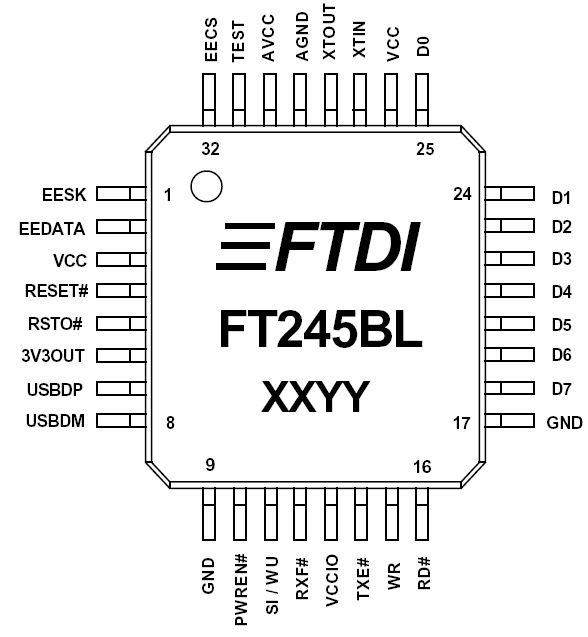
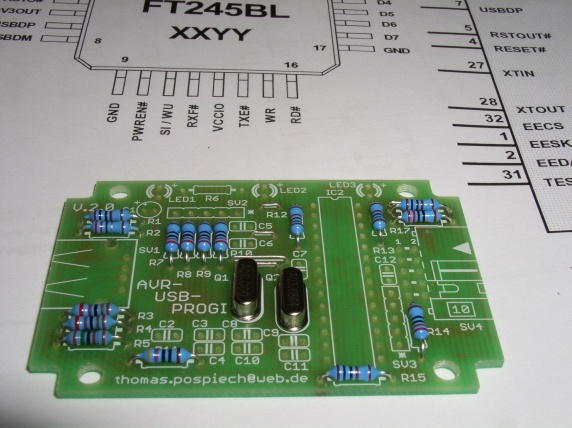
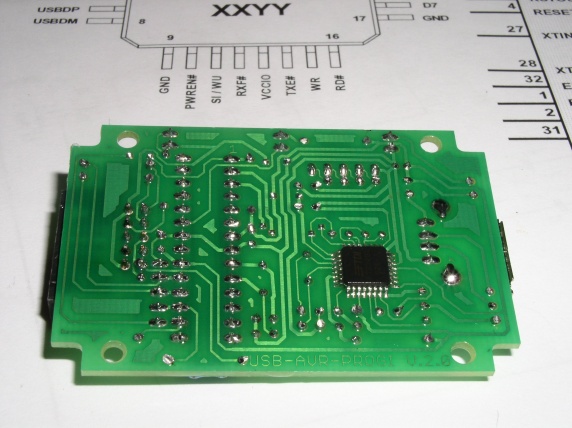
Then it is recommended not to continue directly with other components, but to make a test of connections. For this purpose is only a multimeter required, but also a pinout diagram is necessary. (probably it should be included in documentation):
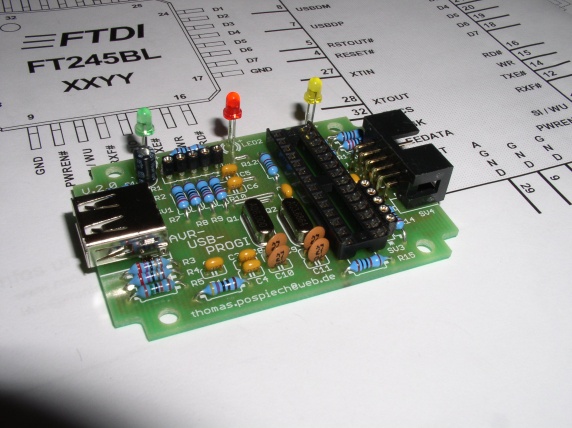
Then simply continue assembly from the lowest components to the tallest:
Again it is necessary to use (and also to clean) the flux paste. For cleaning it is recommended to use an Isopropylalcohol, which is not dangerous to the components. Using of the (more powerful) acetone is not recommended.
After finishing the board I did perform simple connection test without microcontroller,
installation of the FTDI drivers wasn't necessary, because I did use such chips before.
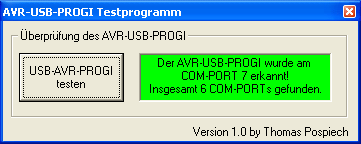
Even I am able to find on which virtual serial port is programmer connected, it is very
good idea to supplement also detection routine. I did test it successfully, also the simple
communication test with pins 2 and 3 connected. The test works also with terminal program
(e.g. Terminal by Bray++ -no install, just run).
Then it is necessary to insert and program the programmer's microcontroller, it works fine exactly as stated in manual. Don't be surprised with VERY LONG programming time, in my case it takes more than 10 minutes, at the first moment I think that computer is frozen...
After removing the internal programming cable and assembling the case, the device is ready for everyday use. Good work, Thomas!
